 Blender Sensor Simulation
 This tutorial will show you how to
- load a scene
- activate the sensor simulation
- configure your simulation
- export scans to a file
- move the scanner through the environment
First steps
We assume that you have downloaded and unzipped BlenSor and that you have installed any libraries that may be necessary. If you are on linux and have a missing library problem, try
sudo apt-get install libopenjpeg2 libjpeg62 libpng12-0
Data needed for this tutorial:
- Download the model table_tutorial.blend
- If you want a colored model download the model table_tutorial_color.blend
Sidenote: The color gets also written to the PCD file, i have colored each object differently, so in theory you could segment the data in the PCD file based on it's color - Start BlenSor
The executable is called blender, blender.exe or blender.app depending on your operating system. - You should see the following screen
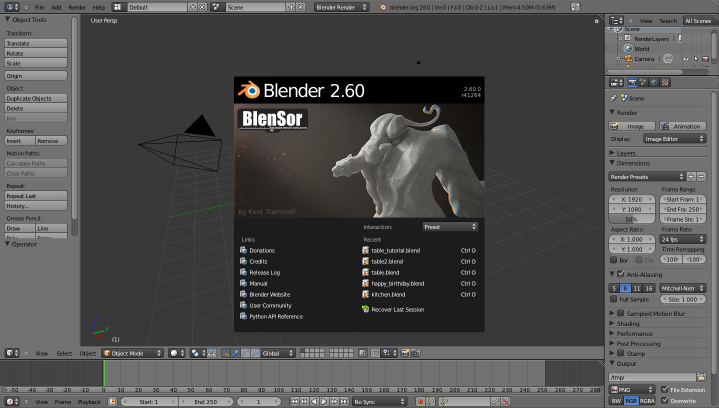
-
Just click anywhere to dismiss the splashscreen
-
Now open the downloaded blend file File -> Open
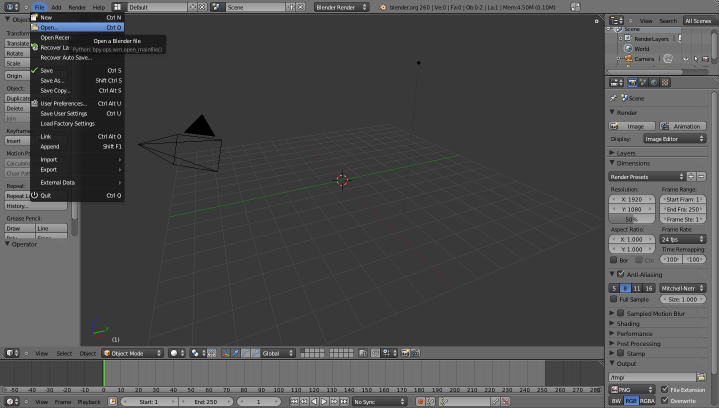
-
And select the blend file. Click "Open Blender File"
-
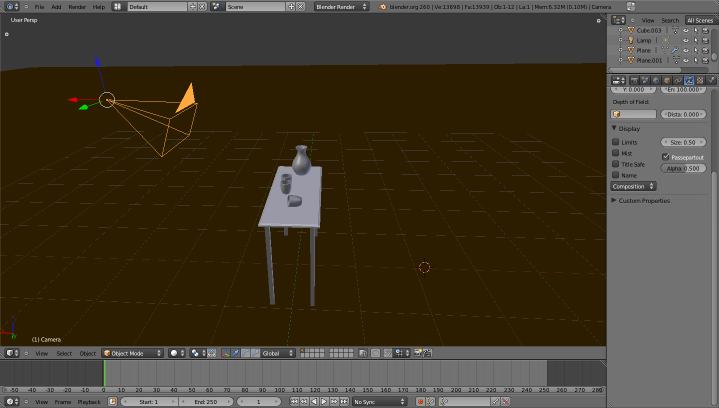
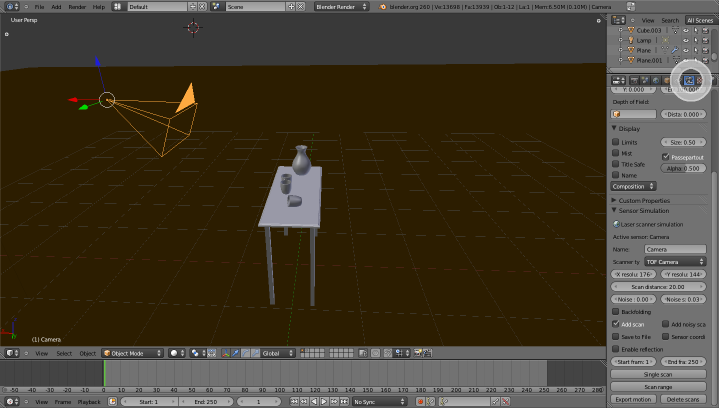
Then you should see the table scene like this:
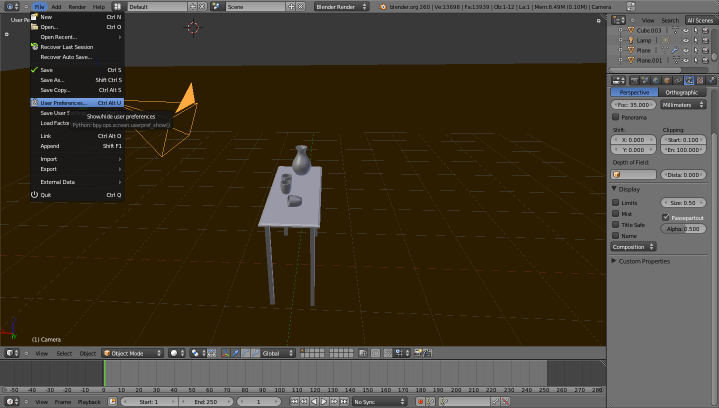
- The next step is to activate the sensor simulation addon (this can be saved as a default but for now we activate it manually)
Click File -> User Preferences
- Go to the addons tab
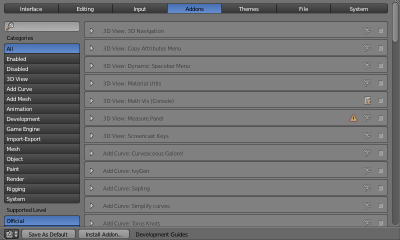
-
And select the System category
-
Activate the checkbox at System: Sensor Simulation
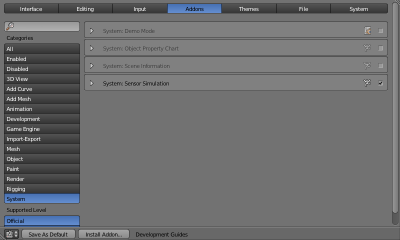
-
Close the user preferences and you are back at our scene
-
If the camera is not selected (The camera would be shown in black) ....
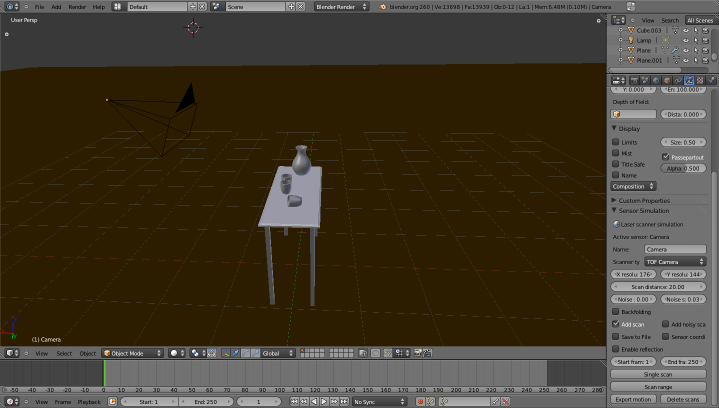
- .... Select the camera right mouse click on the camera object
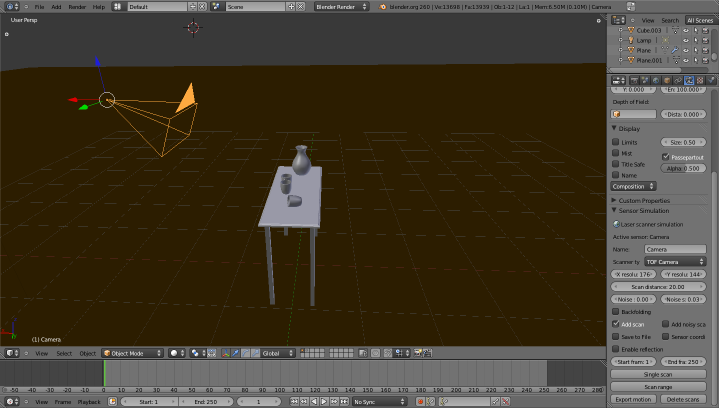
- To get to the sensor panel, select the camera symbol to the right
-
The scanner panel is shown at the bottom of the camera panel
-
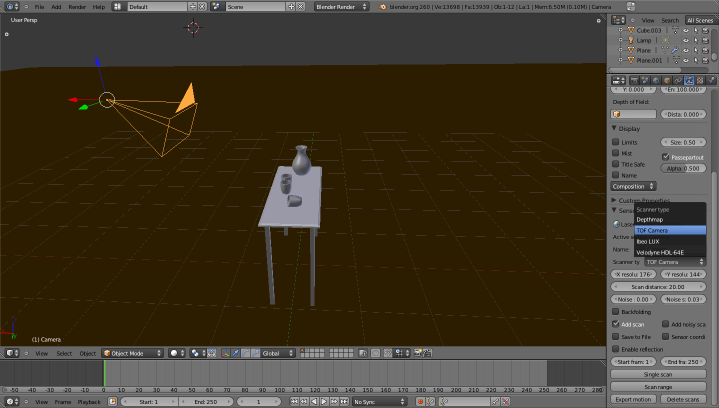
Select the type of scanner you want to simulate. For this tutorial select TOF Camera
-
Uncheck the Save to File box and the Add scan box
-
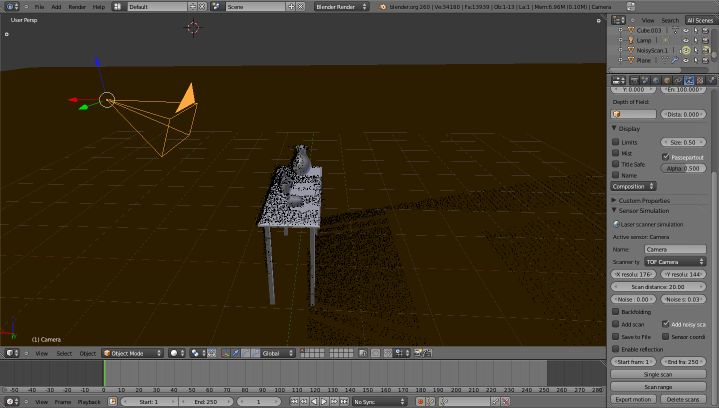
Check the Add noisy scan box.
This tells BlenSor to add the scan result as a pointcloud in your view

-
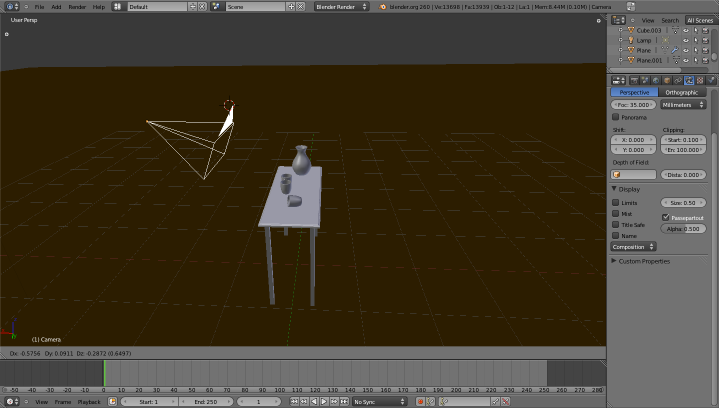
Press Single scan
-
You should get the following scene
-
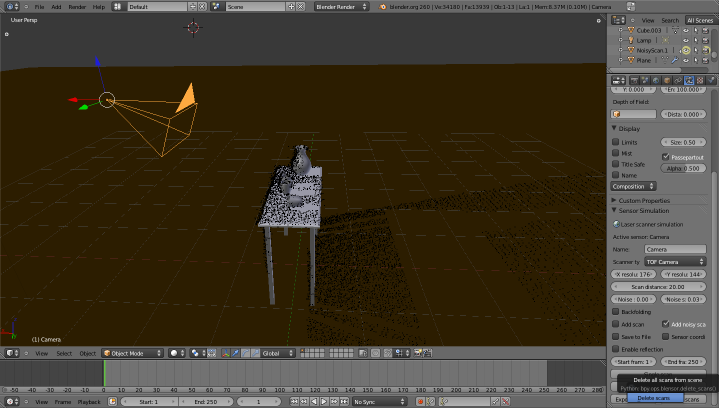
You can select the scan by right clicking on the pointcloud or by selecting NoisyScan.1 in the top right window
-
You could now manipulate the pointcloud if you want to but for now we will just delete it
-
Select the camera again (right click on the camer object)
-
The scanner panel should appear again
-
Click Delete scans
-
You can tune your scanner parameters and repeat the scans as often as you want
-
When you are satisfied with the output we can move on to scan the data directly into a PCD file
-
Uncheck Add noisy scan (you don't have to but for this tutorial we do it)
-
Check Save to File

-
Click Single scan
A file selection dialog should appear -
Go to the location where you want to save the file and make sure you append a .pcd to the filename.
Otherwise the file will be saved in the internal evd format
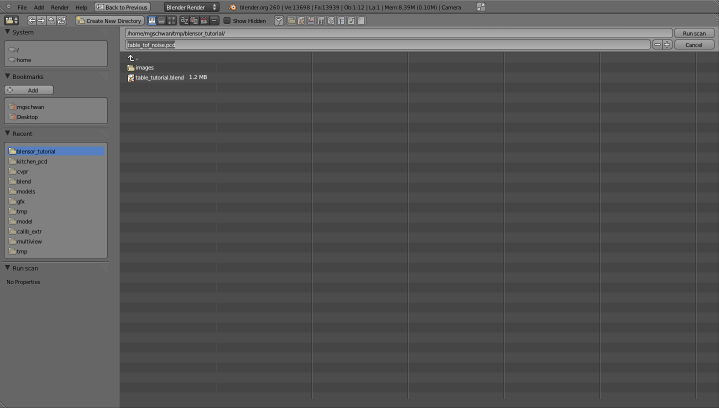
- Now we are done. The pointcloud is saved as a pcd file.
You will get two files per scan (a noisy and a clean one). For example:- table_tof_noise00000.pcd
- table_tof_noise_noisy00000.pcd
Moving your scanner around
If you want to scan the scene from a different view select the camera (right click on the camera object) and press the
- G-key (Grab mode) to move it around (with the mouse)
- If you want to limit the movement to a certain axis press the X,Y or Z key while in grab mode
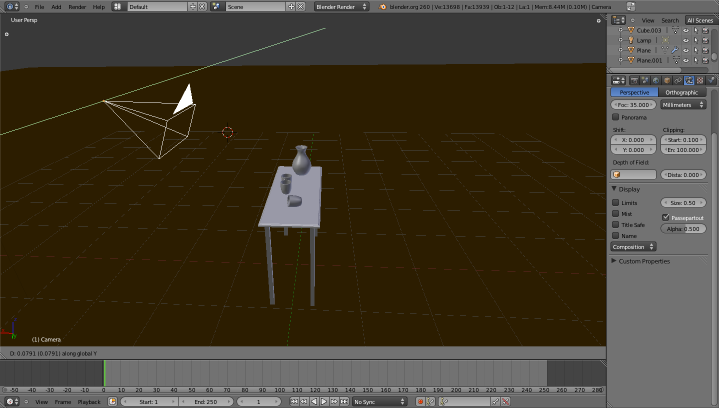
-
Once you are satisfied, click your left mouse button
-
If you want to rotate your scanner, press the R-key (Rotate mode) while the camera is selected. The rotate mode works similar to the grab mode
Now you are done
By now you have probably already figured out that in BlenSor the scanners are represented by the camera. This has many advantages but for now this should be enough information. You have accomplished the following:
- You know how to do a simple scan
- You can modify the scanner parameters and move the scanner to the desired position
- You can save the result to a file
What else is possible
BlenSor is of course far more than this tutorial covers. Things to come in future tutorials
- Animating the scanner
- Animating the scene
- Building/Importing your own scene
- Adding several scanners at different positions in the scene
- Exporting the motion information of all objects into a file
- Modifying the simulation interval (and thus the simulation accuracy
- Integrating reflecting surfaces
- ...